I recently saw an advertisement for “naturally cut fries”. Hmm. What is a natural cut fry? I love how the use of the word “natural” makes us think it’s a healthier option. Unfortunately, the way a potato is cut doesn’t make it a healthier option. How about instead of buying naturally cut fries, we make The Best Naturally Cut Fries right at home? These organic fries are a healthier option since they are made with only 3 ingredients. Try making this recipe tonight because these homemade fries won’t disappoint!
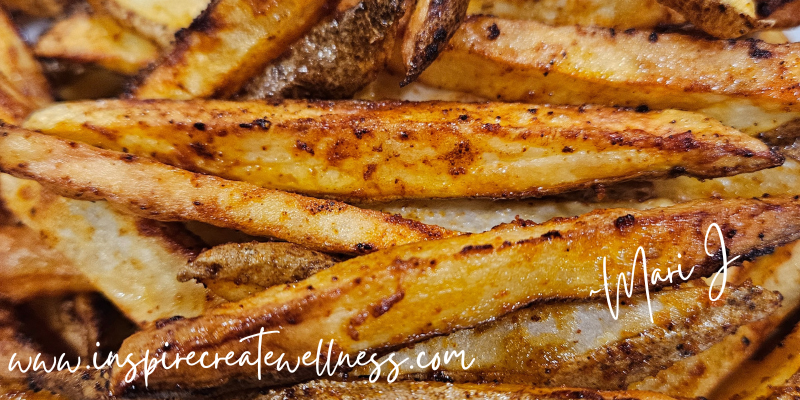
Anyone who knows me knows I LOVE potatoes! I have been making these fries at home for years and am excited to share this recipe with you. Not only are these The Best Naturally Cut Fries, they are also less expensive than buying frozen fries. They don’t contain any added chemicals, seed oils, or ingredients you can’t pronounce. Just 3 simple ingredients – Organic Russet Potatoes, Olive Oil, and Sea Salt.
This recipe does require an air fryer to make the best organic homemade fries. If you don’t have one yet, now is a great time to start looking!
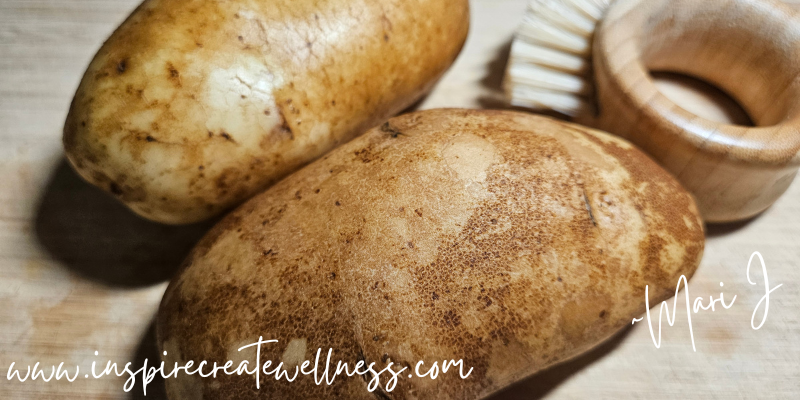
Plan on 1 Organic Russet Potato per person. The great thing about this recipe is you can make it for 1-2 people or a large family. If you end up with any fries left over, store them in the refrigerator. Then reheat them in the oven or on the stove top in minutes with a little bit of additional olive oil. They will crisp right back up even about being refrigerated. It’s a great way to cook once and eat twice.
Ingredient List:
- Organic Russet Potatoes (1 per person)
- Olive Oil
- Sea Salt
Kitchen Equipment List:
- Air Fryer
- Large Glass Bowl
- Sharp Knife
- Cutting Board
- Paper Towels
- Clean Kitchen Towel
Before I go any further, I can’t stress enough the importance of using organic potatoes! Organic potatoes skins aren’t sprayed with chemicals. They are left natural. You can read more about this in my blog post titled Is Buying Organic Worth It? They are also the perfect size to cut into homemade fries. I have tried both red and yellow organic potatoes and they will work for this recipe. However, I recommend russet potatoes for this recipe.
Nutritional Benefits
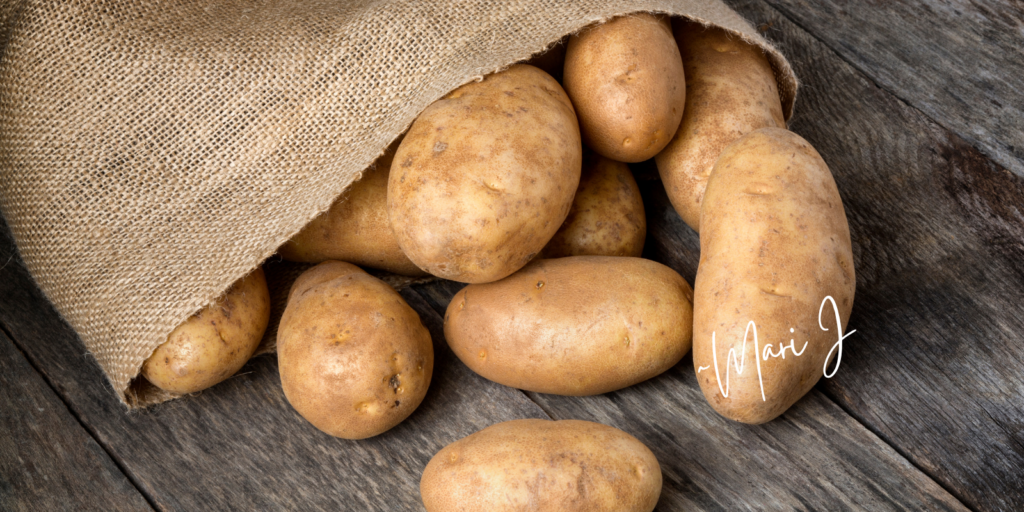
Sometimes potatoes get a bad wrap for being a night shade. Depending on how they are cooked and prepared, they may cause a spike in blood sugar. However, potatoes aren’t all bad. They are full of potassium, dietary fiber, vitamins, and minerals. Potatoes also have about the same amount of Vitamin A, C, and E as an apple, less carbohydrates, more fiber, and more protein!
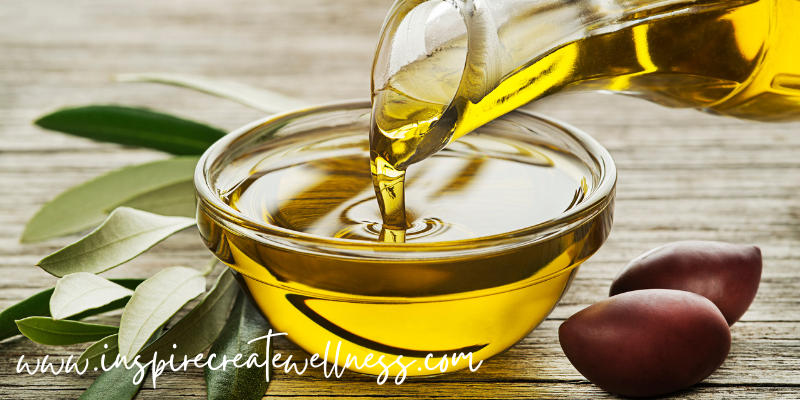
You also get the added health benefits from the olive oil. Whereas, seed oils can cause inflammation in the body, olive oil is a heart healthy fat that provides healing properties to your body, and is beneficial to your brain. After all your brain is 60% fat itself. Don’t fear healthy fats. Your brain needs them! Read more about this here.
To make The Best Naturally Cut Fries at home, simply cut clean russet potatoes with a sharp knife into fries, soak the cut potatoes in water, dry, toss with olive oil, and air fry. The longest part of this process is letting the cut potatoes soak in water for about 20 minutes before towel drying and tossing them with olive oil. The air fryer does the rest!
The Best Naturally Cut Fries Recipe:
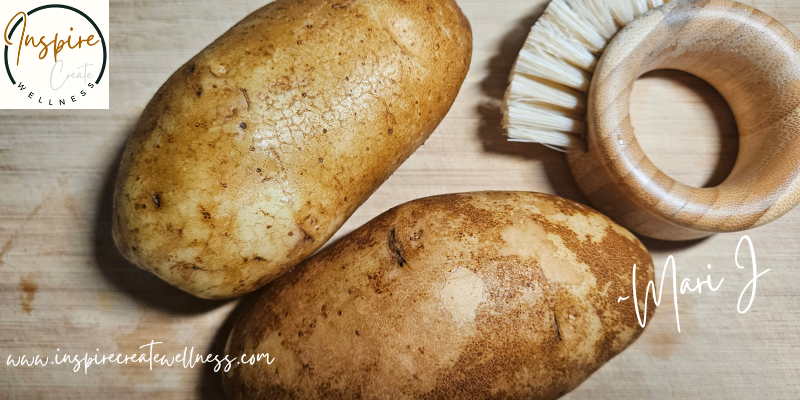
These are made with the skins on so start by washing the skin of each organic russet potato under warm water, with a vegetable scrub brush.
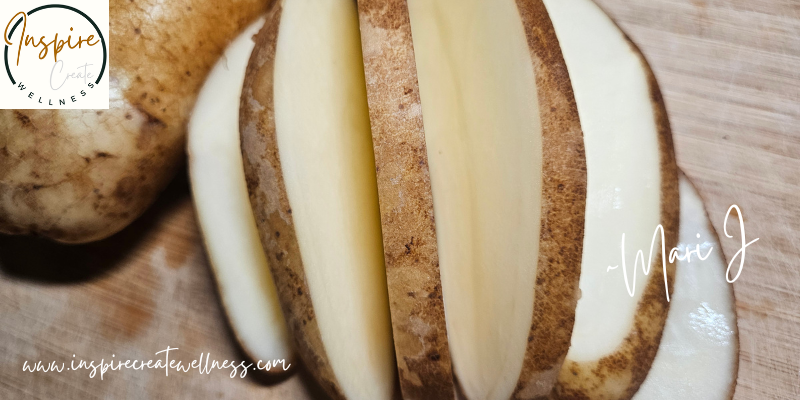
Next, place the potato on a cutting board and point the small end towards you. Cut it lengthwise into approximately 1 cm thick slices. This is just slightly bigger than a 1/4 inch.
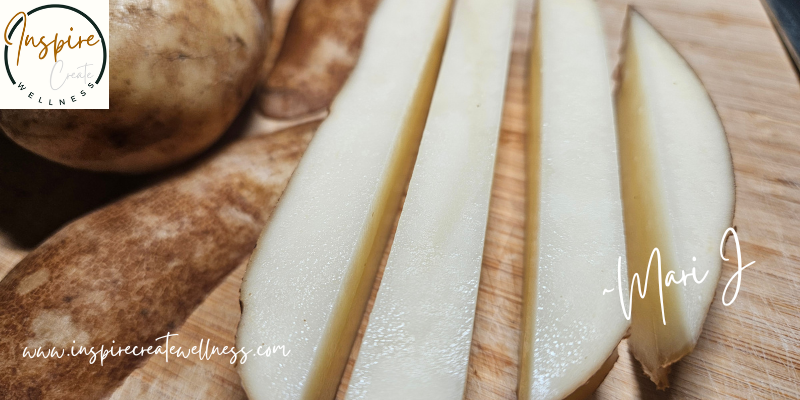
Stack 2-3 slices and cut lengthwise every 1 cm to create the fries. These do not have to be perfect! Aim for all the fries to be about the same thickness so they will cook evenly.
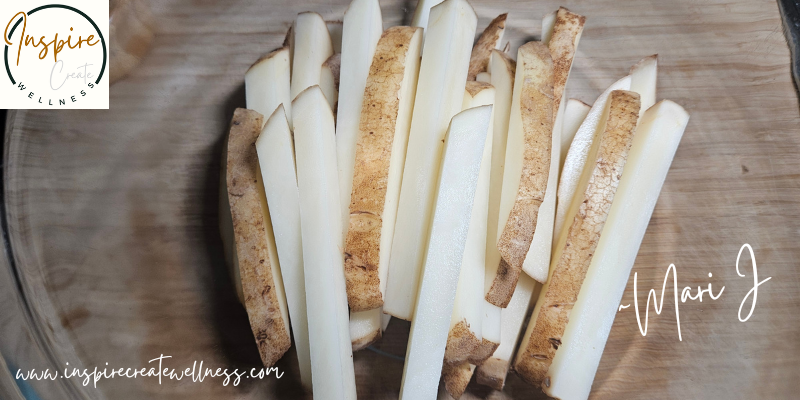
Add the cut potatoes to a large glass bowl and fill with it warm water. Swirl the fries around and drain to remove the potato starch. Repeat 2-3 times until the water is clear.
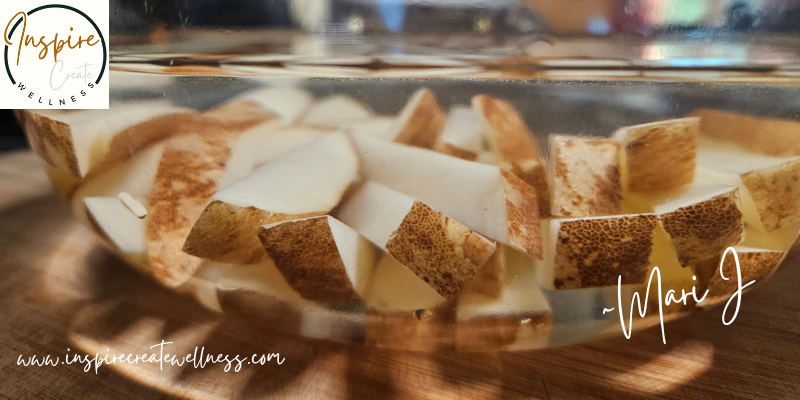
Next, fill the bowl with enough water to cover all the fries. Place a kitchen towel over the bowl and allow to soak for 20 minutes.
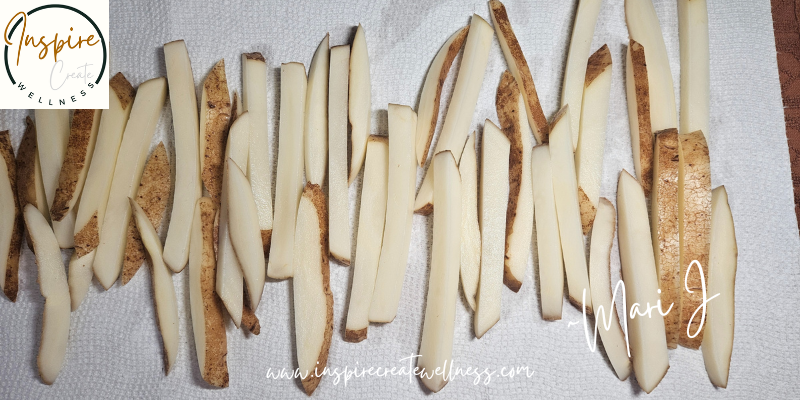
After 20 minutes, drain the water from the bowl. Lay a dry kitchen towel on the counter and cover it with one layer of paper towels. Place the fries, with the small end facing you, on the paper towel.
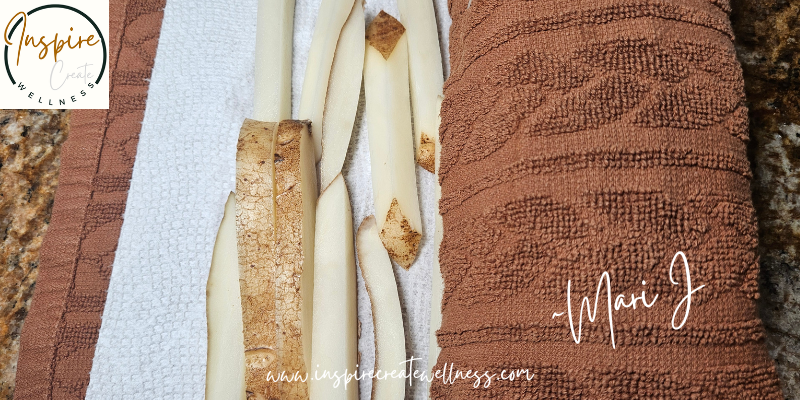
Roll the towel up and lightly press down to get as much water off the fries as possible. Allow to dry for 10 minutes. While they are drying, rinse and dry the large glass bowl because you will need it again soon.
Pre-heat your air fryer to 400 degrees.
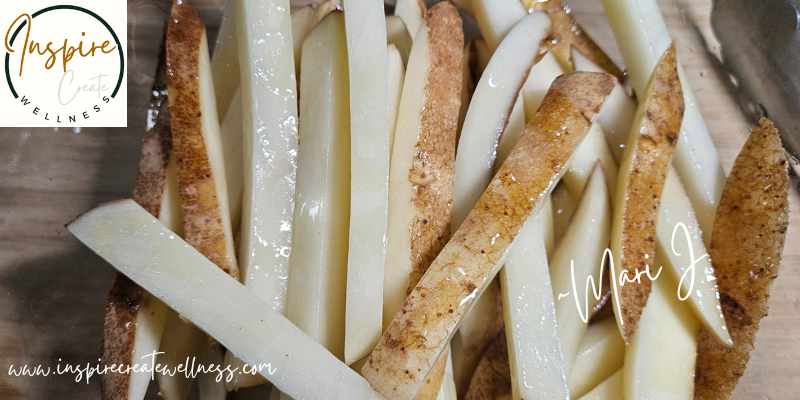
Place the dry cut potatoes back in the large glass bowl (make sure it is dry) and toss them with 1 tablespoon of Olive Oil. If they aren’t all covered, toss with an an additional tablespoon of olive oil.
Place the fries in a pre-heated air fryer and bake for 15+ minutes.
Cooking Variables
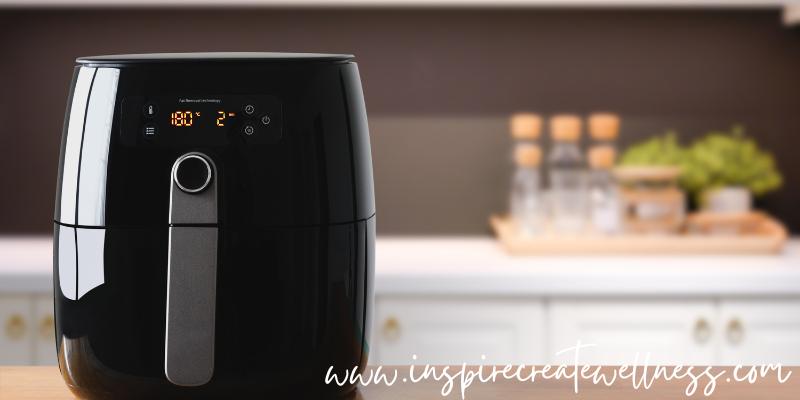
I have a small Phillips Air Fryer with a basket so I fill the basket about 1/2 full to cook the fries faster. It’s best to check them after 10 minutes of air frying. Give them a toss, if your air fryer has a basket, and cook for another 5 minutes. They should take about 15 minutes total.
I have found that the second batch usually cooks a little faster. Ideally you want them to be golden brown and crispy on the outside, like the ones shown in the picture below.
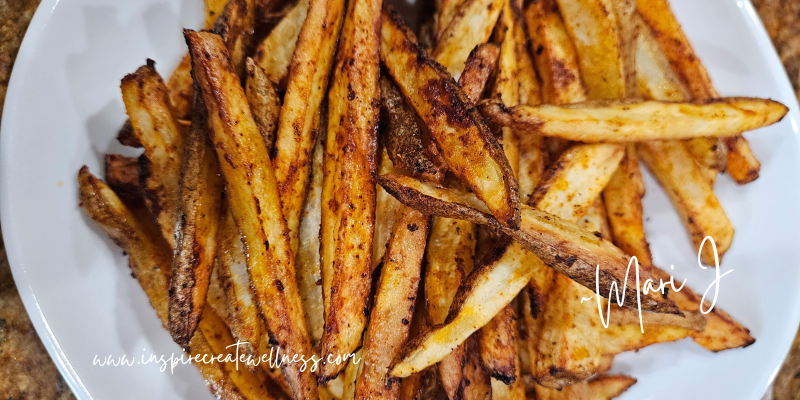
Once golden brown, place the fries on a large plate and sprinkle with a little bit of sea salt. Or get creative with a little onion salt, fresh garlic, or your favorite seasoning.
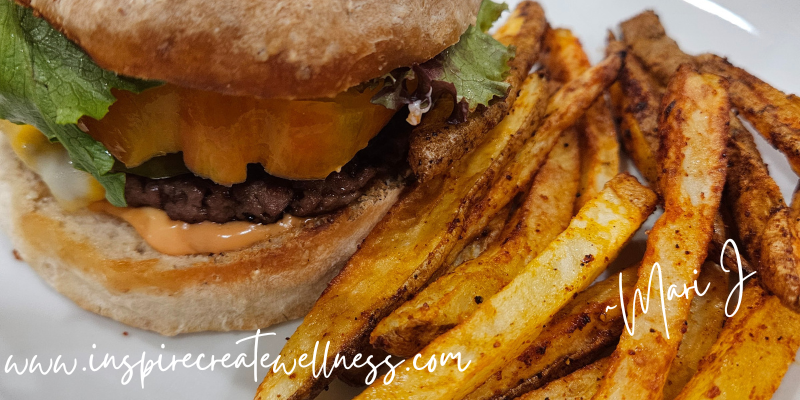
These fries pair perfectly with my Amazing Vegan Black Bean Burger . It’s plant-based, vegan, gluten free, organic, and tastes delicious. However, they also make great chili cheese fries!
Below you will find the recipe for the Best Naturally Cut Fries. As always, I encourage you to use this recipe as inspiration to create your own variation of homemade organic fries. Remember you can always change the seasoning.
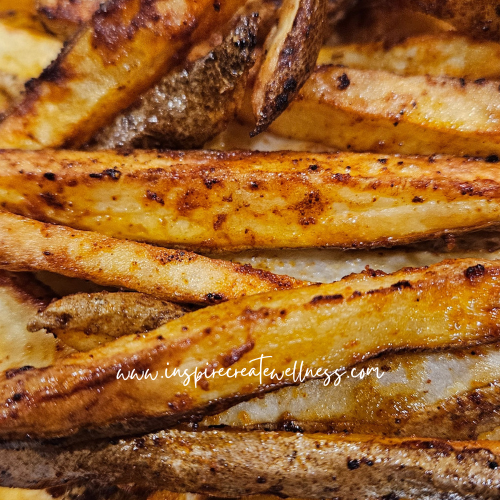
The Best Naturally Cut Fries
Ingredients
- 2 Organic Russet Potatoes (1 per person)
- 1 Tbsp Olive Oil
- 1 Pinch Sea Salt
Instructions
- Wash the skins of the potatoes under warm water with a vegetable scrub brush.
- Place washed potatoes on a cutting board (small side towards you) and cut lengthwise into approximately 1 cm thick slices.
- Stack 2-3 slices and cut lengthwise every 1 cm to create the fries. Aim for same thickness so they will cook evenly.
- Place the cut potatoes in a large glass bowl. Add water, swirl, drain, and repeat 2-3 times until the water is clear. This helps remove the potato starch.
- Once the water in the bowl is clear, cover with a towel and allow to soak for 20 minutes.
- Drain all the water from the bowl. Layout a kitchen towel and cover it with 1 layer of paper towels. Place the fries, small end facing you, on the paper towel.
- Roll the towel up and lightly press down to get as much water off the fries as possible. Keep rolled up for 10+ minutes.
- While they are drying, rinse and dry the large glass bowl (you will need it again) and pre-heat the air fryer to 400 degrees.
- Put the dried cut potatoes back in the same large glass bowl (make sure you dry it out first). Pour 1 tablespoon of oil and toss using tongs. If they aren’t all covered, add an additional tablespoon and toss again until covered.
- Bake in the air fryer for 15+ minutes. If your air fryer has a basket fill it 1/2 full and give the fries a toss after 10 minutes. Cooking times vary based on the size of fries you cut and your air fryer. Make a note on the recipe after your first batch with the cooking time needed for your air fryer.
- Place the cooked fries on a large plate and sprinkle with a pinch of sea salt. ENJOY!~Mari J @ www.inspirecreatewellness.com
Notes
Remember to be creative with your food. It doesn’t have to be complicated and there is inspiration all around you. If you haven’t tried making Fries at home before, what are you waiting for?
About the Author
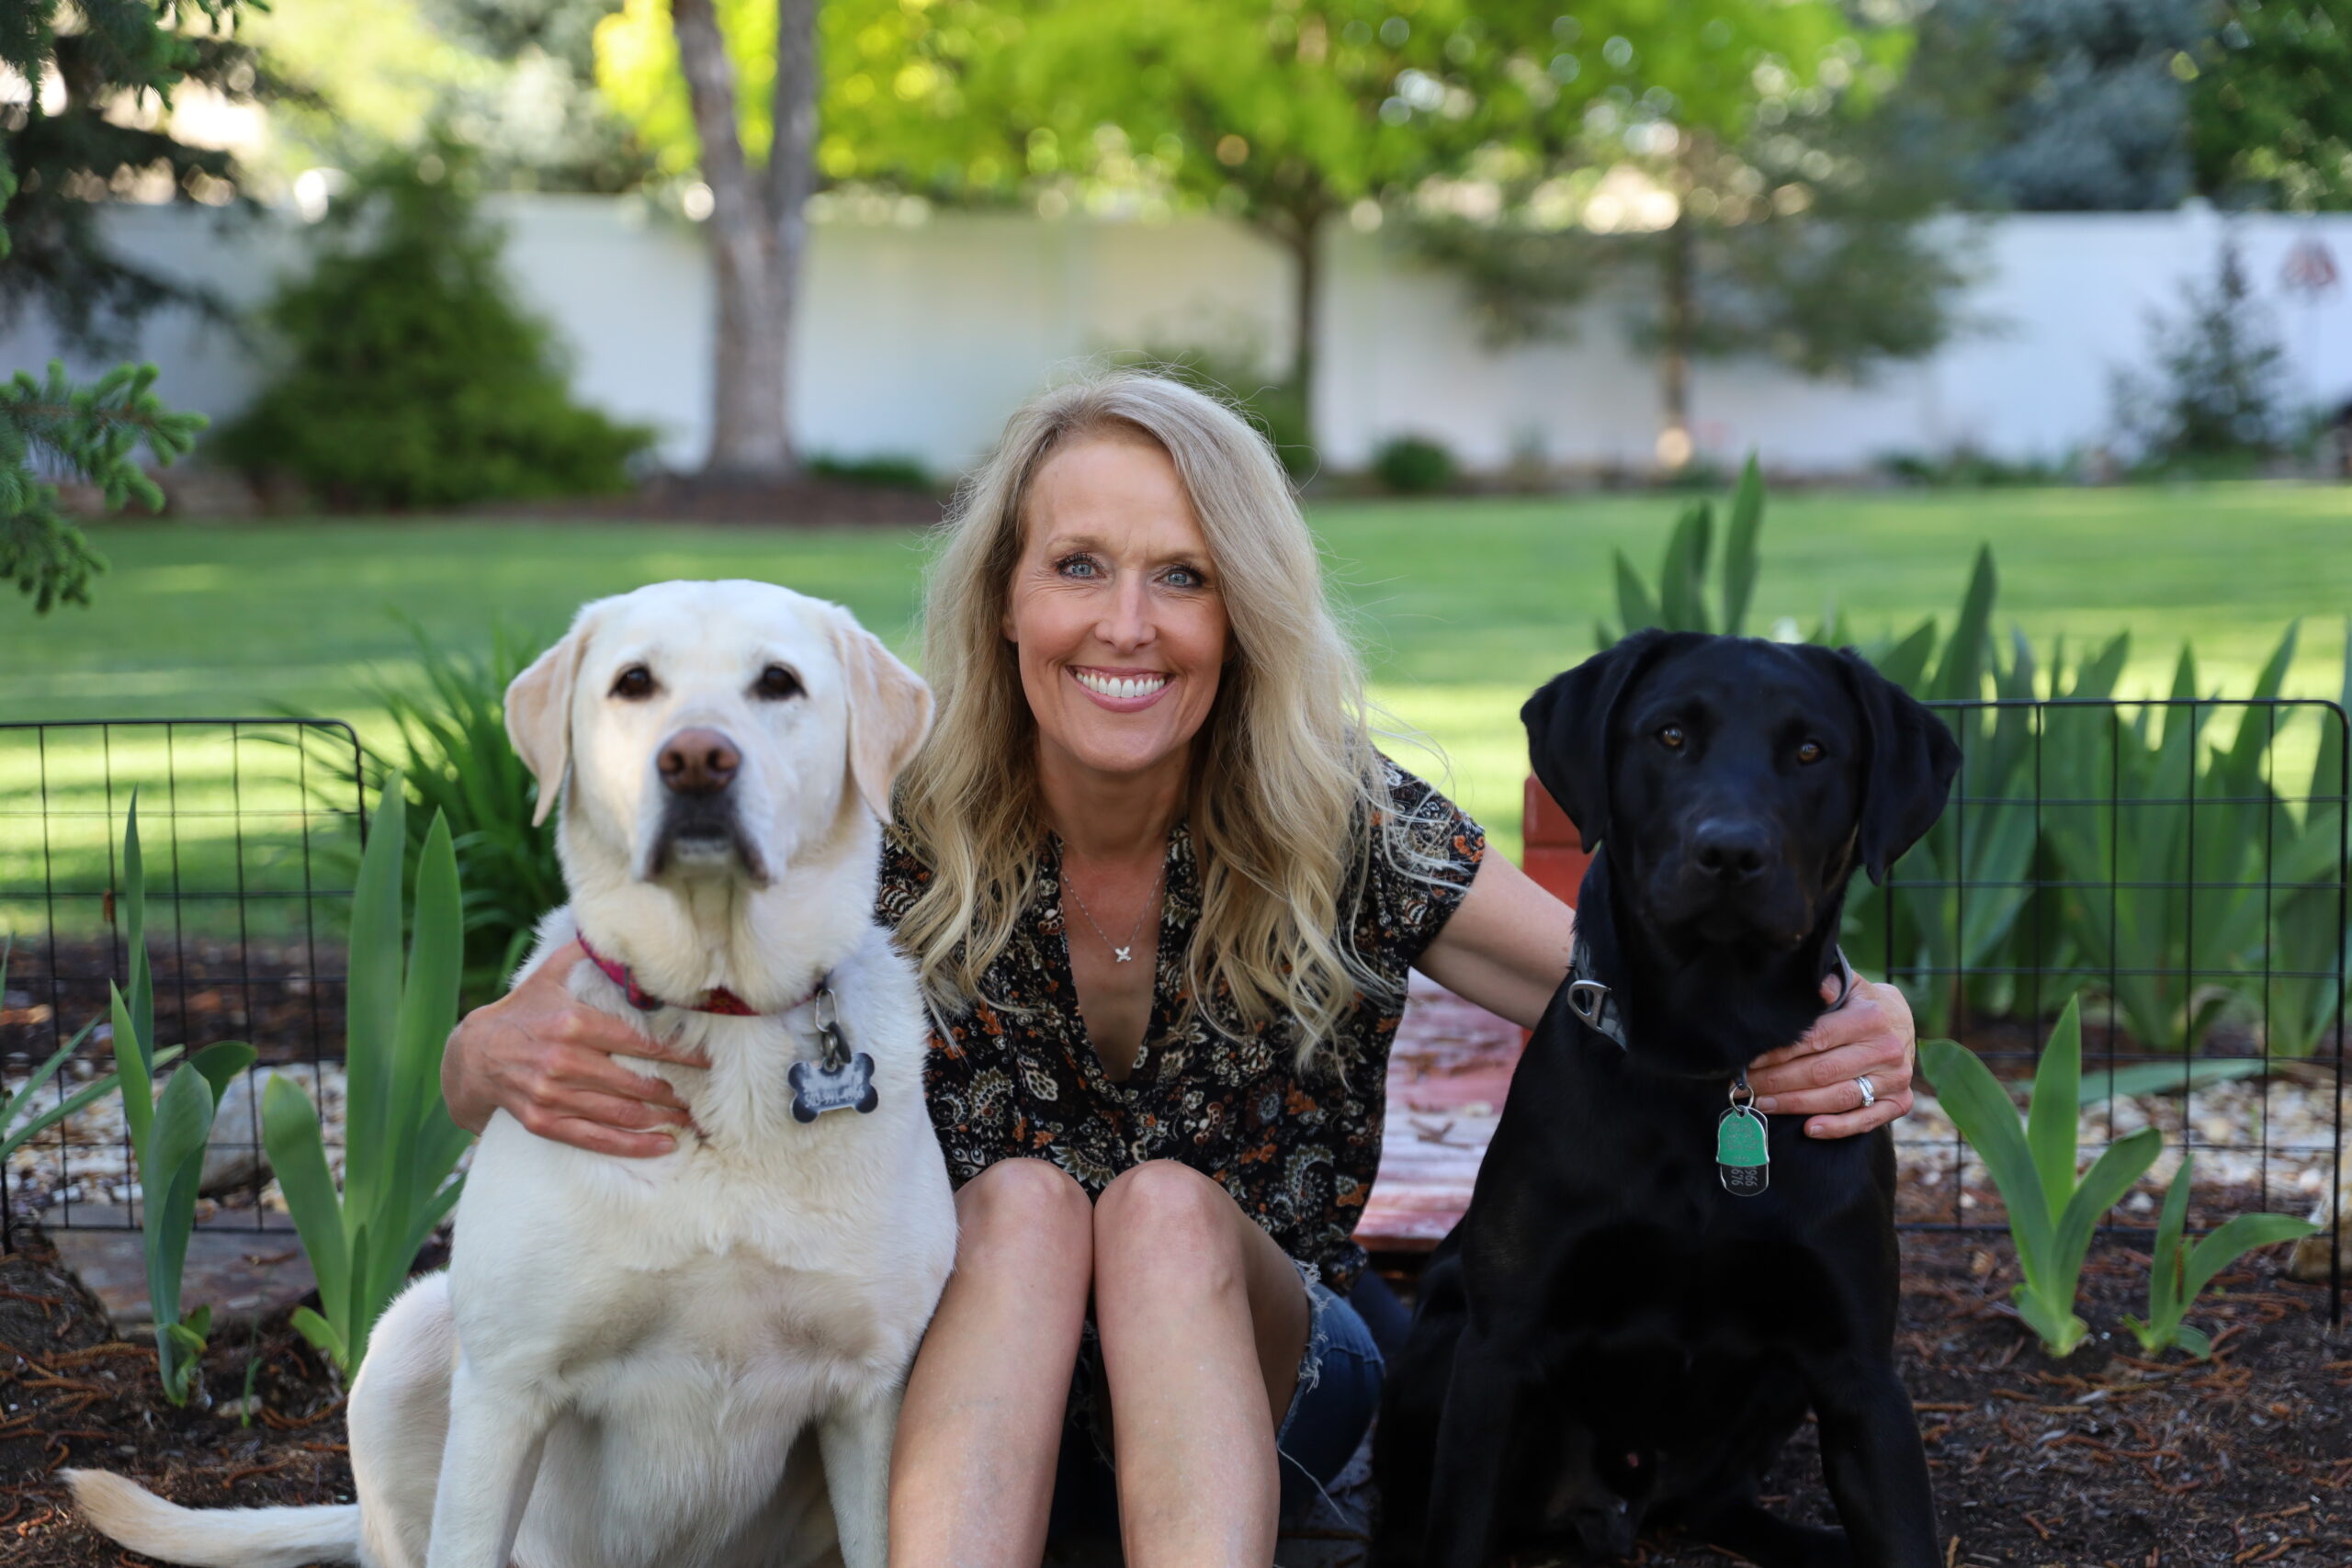
I love animals, gardening, and being creative in the kitchen. I can’t waste food and rarely follow the recipe! As a IIN Certified Integrative Nutrition Health Coach I can help you get from where you are to where you want to be. Join me on my journey!




Leave a Reply